Now we continue by showing you how to actually go about doing this. We'll need to use a virtualisation software to emulate a virtual machine so it can run on top of your existing machine. Interested?
We're assuming you're running Windows XP, which is the most popular operating system (OS), and the likely candidate to migrate to Windows 7 - if you chose to do so. Of course, you can run virtualisation software on any other OS as well - as long the virtualisation software supports it.
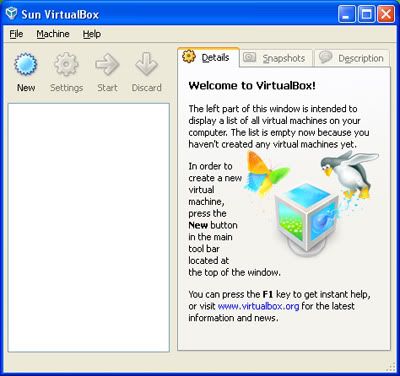
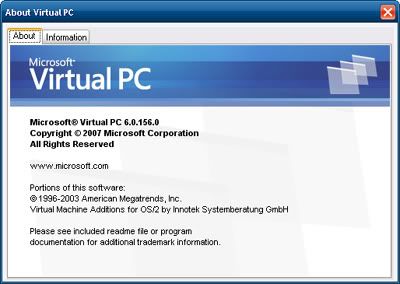
We'll be using Sun's Virtual Box 3, since it's free, and unlike Microsoft's Virtual PC 6 Service Pack 1 (2007), which is also free, Sun's version offers a bit more. Of course there's popular VMware, but that's not free.
Keep in mind Microsoft's
Virtual PC 7 only works on Windows 7 as
XP Mode. We'll talk about that later on how to use XP software on Windows 7. Right now let's focus on Windows 7 on XP.
First you'll need to download Virtual Box, which can be found
here (70MB). If you want to see the other options of Virtual Box, visit the site
here. To get a primer about Virtual Box, go
here.
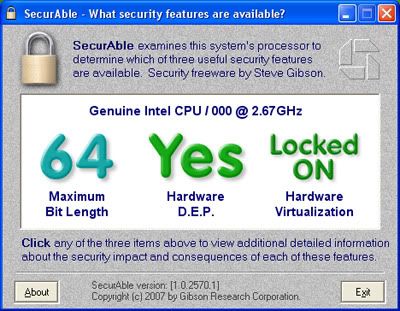
Next, you'll need a copy of Windows 7 installation DVD, which you can get the free 3-months Enterprise edition here (x86 32-bit or x64 64-bit around 3GB). However, before you download the x64 version of Enterprise and find out you can't use it on your machine, first download and run this SecureAble tool (site here) to find out if your processor supports hardware x64 virtualisation. If your processor supports virtual x64, you'll get this:
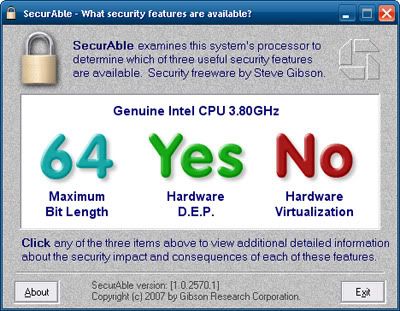
If it doesn't, you'll get this:
So download the right Enterprise! The Enterprise edition is similiar to Windows 7 Ultimate (compare here), so you can try everything that Windows 7 has to offer.
Once you've used the Enterprise edition to evaluate Windows 7, you can then buy the full RTM edition when it goes on sale in the next few days. Okay, got your downloaded trial Enterprise edition burned into a DVD? It's time to start.
First, install the downloaded Virtual Box on your XP desktop. It will cut you off from the Internet while it installs its virtual networking hardware, so make sure you're not downloading anything! Once it's done, run the installed Virtual Box.
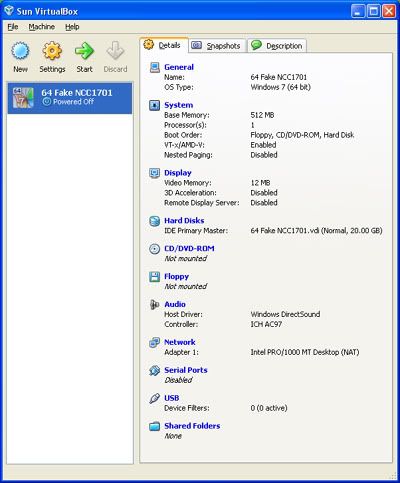
Now create a new virtual machine. Click the New button in Virtual Box and follow the wizard guide. Type a name for your virtual Windows 7 Enterprise (maybe Fake NCC1701? Okay, inside Trek joke - ignore!).
Select the type of OS you want to install on this virtual machine from the list - in this case, it'll be Windows. Then select the version of Windows - which is Windows 7. Next, select how much of your machine's memory you want to devote to this virtual Windows 7 - you can leave it as the default or increase it if you have more memory to spare.
If you're doing this on Windows XP, chances are it's the x86 (32-bit) version, so you'll be limited to 4GB of memory (if you have that much installed). This means you can't put more than 2GB for this virtual Windows 7 since that will leave your running Windows XP with less than 2GB of memory to run all else.
Next, you need to create a virtual hard drive to run this virtual Windows 7. This will lead you to the drive wizard. You can stick to the dynamically-expanding storage, this will grow the file space as needed based on your need for it. Next you'll need to also name this virtual drive. Again, you can stick to the initial size given or give your own size (and it will expand accordingly if you chose dynamic earlier).
Once all these are done you'll get a new entry in your list of virtual machines in the Virtual Box. It will be in a powered-off state. Now you'll have to power it on to install your Enterprise DVD.
Click on the Start button in Virtual Box and a new window will open as the virtual machine comes to life. Since it's your first time running this new virtual machine, another wizard will ask you for the source to install an OS to this new virtual machine. Just select your DVD drive. If you don't have the downloaded-and-burned Windows 7 Enterprise trial DVD in your drive, you'll get this:
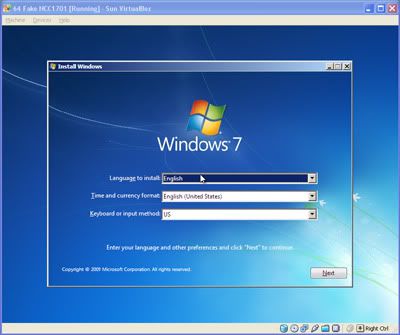
If you do have the DVD in your drive, you'll get the the Windows 7 installation screen:
If you were so 'smart' to download and burn the x64 (64-bit) version of Enterprise but your processor can't run virtual x64 OS, then you'll get this:
Going back to the installation, so assuming all goes well, proceed with the user-friendly Windows 7 installation as if you were installing on an actual computer - even if you're doing it virtually. Remember that its installing on the virtual drive you configured earlier - so don't worry about it formatting your existing running Windows XP!
As the installation is running in its own virtual machine window, feel free to do something else on your Windows XP desktop while waiting for the installation to complete. When it's done, it'll automatically restart the virtual machine like it were a real computer.
That's all there is to it! Now you've got a virtual Windows 7 running on your existing Windows XP desktop! Feel free to run it anytime. You can do the same with the RTM Windows 7 when it's out a few days from now. Keep in mind this virtual Windows 7 is running off a virtual hardware, which means you can't install software drivers for the hardware that's on your real machine. You probably won't have to anyway - Windows 7 will automatically detect the virtual hardware.
Next, we'll show you how to share files between this virtual Windows 7 machine and your real Windows XP desktop.

